
Important: Do you use Office 365? Learn how to automatically synchronize Outlook on the web signatures with our Office 365 integration.
-
Step 1
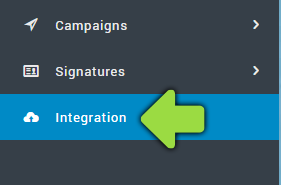
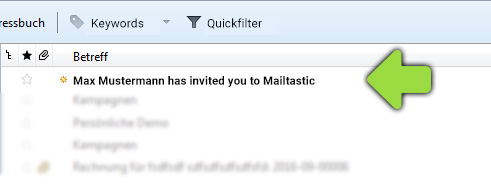
Open the Mailtastic Installation manual. This can be found at Mailtastic under "Installation"-> "Installation" -> "Quick-Start", or ...
... in the invitation e-mail you received from Mailtastic.
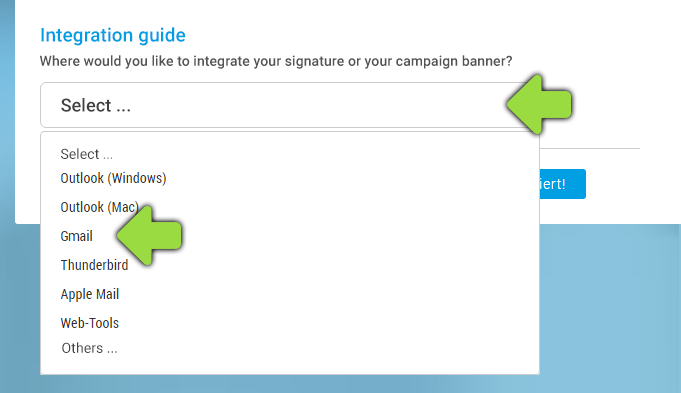
Step 2
Follow the process until you reach the "Manual" area. Scroll down until you reach "Integration Guide" and select "Gmail" from the drop-down menu. Don't worry, you've come to the right place: Outlook Web App has the same integration process as Gmail.
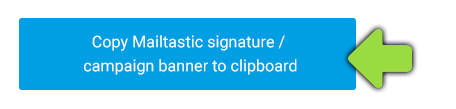
Step 3
Scroll down further and copy the Mailtastic signature or the campaign banner to the clipboard by clicking the blue button:
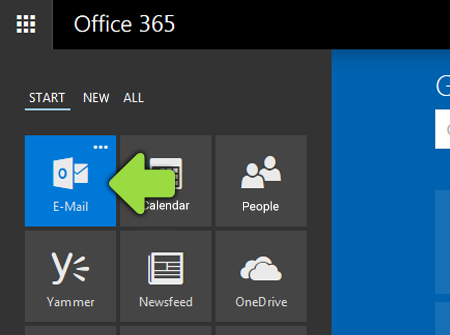
Step 4
Open Office 365 and select "E-mail".
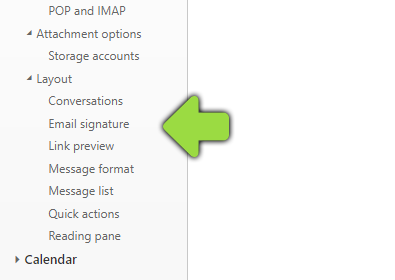
Step 5
Navigate via the wheel in the upper right corner to "Options" ...
... and then select "E-mail signature" in the left column.
Step 6
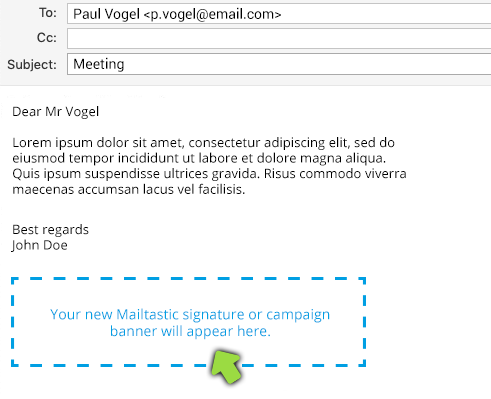
If you have been assigned a complete Mailtastic signature, delete the contents of your old signature and paste the copied Mailtastic signature into the empty field.
If you have been assigned a campaign banner, insert it with a paragraph space below the existing signature text.
Step 7
Select the setting "Automatically include signature in my new messages I write".
Step 8
Now save your settings by clicking on "Save" at the top of the page.
Done! Your Mailtastic signature or campaign banner will now be displayed in your e-mails.
-
Do you have any questions?
No problem - we will be happy to help you personally! Simply use our free live chat (bottom right).

Peer Wierzbitzki, Product Management