You are here:
Step 1 - Connect to Microsoft 365
-> Step 3 - Import employees
-
Background:
After connecting to your Microsoft 365 account in the first step, and setting up the basic sync settings in the second step, in this article we will explain how to import Microsoft 365 users to Mailtastic via rule.
Overview:
An import rule is made up of two sub-rules.
User import rule: Here, you can define which employees you want to import from your Microsoft 365 account to Mailtastic. Jump to user import rule
Department assignment rule: Here, you can define how the imported employees are organised or assigned to departments within Mailtastic. Jump to department assignment rule
Tip: You can define multiple rules to import O365 users with different properties to Mailtastic separately - e.g. users from different locations, brands, departments etc.
In the following section we describe the two sub-rules.
-
Part 1 - General
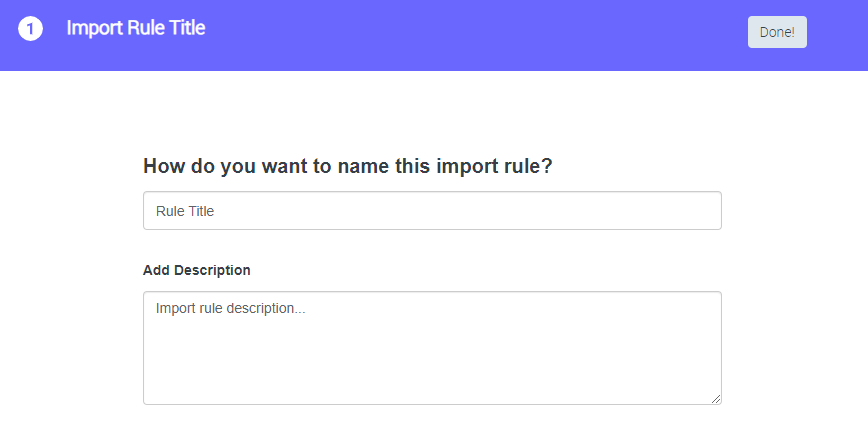
Open the Microsoft 365 integration and click on "Create rule" to start.
Give the rule a meaningful name and add a short description so that you and others can better understand what you are doing.
e.g. Title: "Import Marketing Germany", "Imports all German employees from Marketing into the following Mailtastic departments: Marketing, Internal"
-
Part 2 - User Import Rules
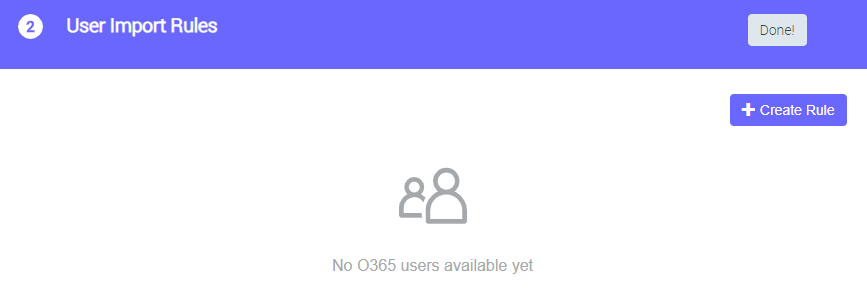
Click on "Create Rule" in the "User Import Rules" section.
In the left area of the following dialogue, you can define requirements that the employees you want to add to Mailtastic should meet.
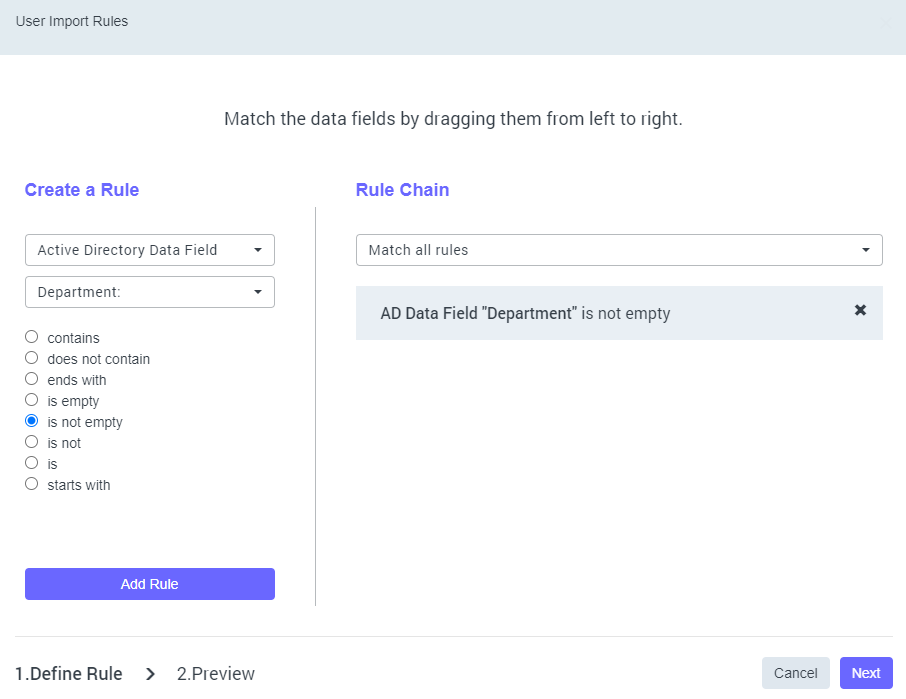
Figure: The figure shows a setting that many customers make by default to identify "real" O365 users. Only users whose department information has a value are imported to Maitlastic.
You can combine as many conditions as you like in one rule. In the right pane you can see the individual conditions and define whether a staff member must meet all the requirements of a rule to be imported, or only one.
Tip: Try to keep your rules as simple as possible and do not add too many conditions.
Create the requirements and click "Next".
Before the rule is created, you will get an overview of the O365 users that match your rule and you can still make changes.
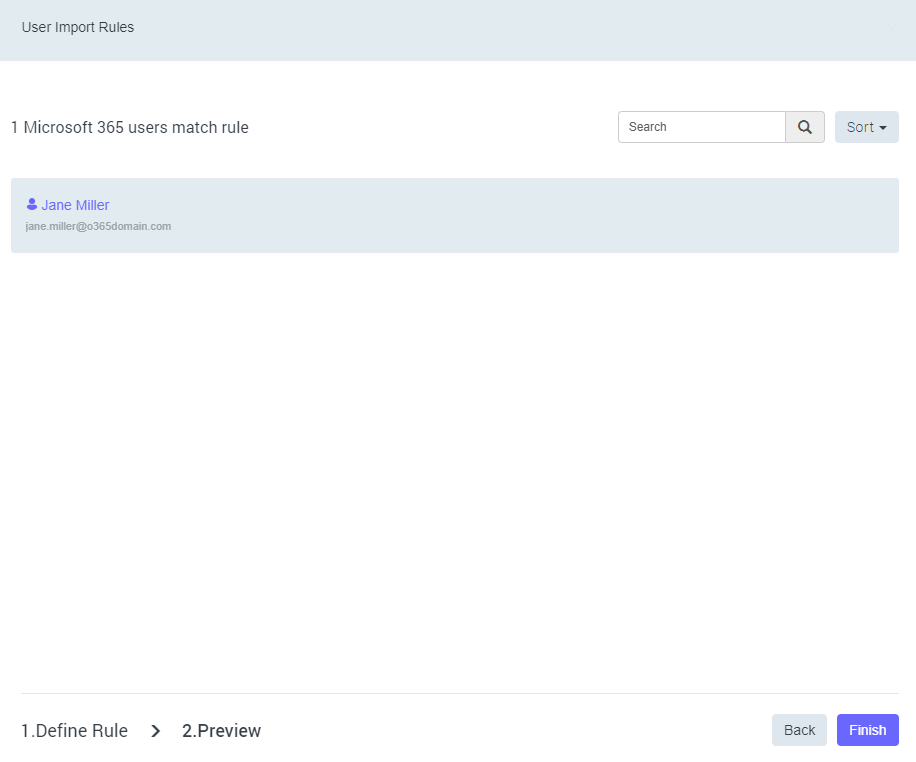
Click on "Finish" in the preview dialogue box to create the rule.
-
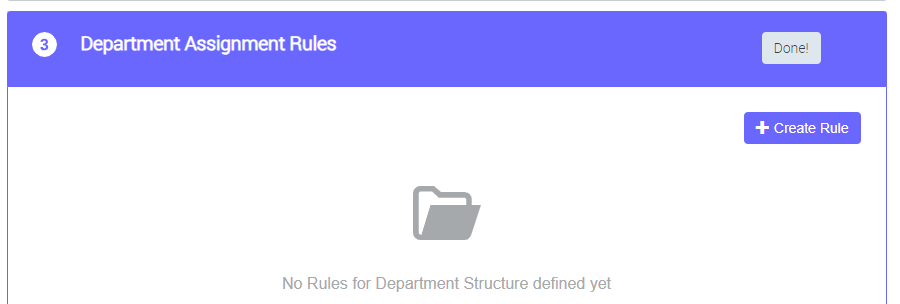
Part 3 - Department Assignment Rules
Tip: You can define multiple department assignment rules per import rule. Therefore, make each rule as simple as possible.
In the next step, click on "Create Rule" in the "Department Assignment Rules" section to define how the O365 users that will be organised at Mailtastic via the import rule you just created.
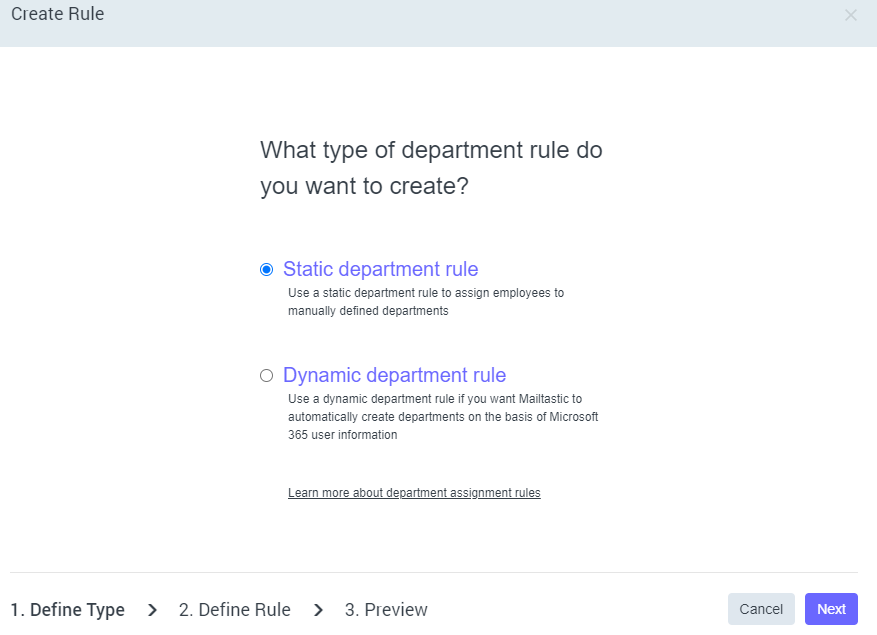
Choose between static or dynamic department rule:
Select "Static department rule" if you want to assign your employees to a static department i.e. a department that is not based on the employees' O365 user information.
Select "Dynamic department rule" if you want to assign your employees to Mailtastic departments that are automatically generated based on the employees' O365 user information.
More details in the following section:
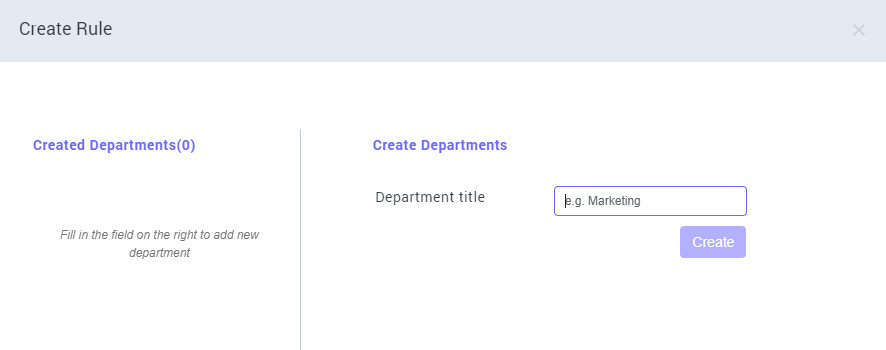
Enter a department title in the right pane and click "Create" to add it to the selection.
The employees by this rule will be assigned to all the departments you see in the left pane. In this example, the employees are assigned to the "Marketing" and "Internal" departments.
Click on "Next" to go to the preview.
-
For example, if you want to import your Microsoft 365 users into Mailtastic into departments that correspond to the departments stored in Microsoft 365 WITHOUT manually creating all departments, then using Dynamic Department Rules is perfect.
Tip: In order to use Dynamic Department Rules effectively, it makes sense to have an overview of the user information that is created in Microsoft 365 for your employees. If you do not have access to your Microsoft 365 account yourself, briefly coordinate with the relevant colleague and have them send you a screenshot of your Microsoft 365 user information.
In the following section we explain the use of dynamic department rules with the help of some examples.

In the right pane, under "Compose Department", you can select the Microsoft 365 user field to be used to create the Mailtastic department.
You can combine multiple Microsoft 365 user information. To do this, simply click on "Add value".
If you use several Microsoft 365 values, it can be useful to separate the individual information within the nomenclature. In the right-hand area, you can define an appropriate character via "Define divider" - e.g. "_".
Via "Add prefix" you can define an individual prefix - e.g. "DE".
Under "Preview department" you can see which values make up the department into which the employees will later be imported.
Example 1 - Using an Microsoft 365 Value
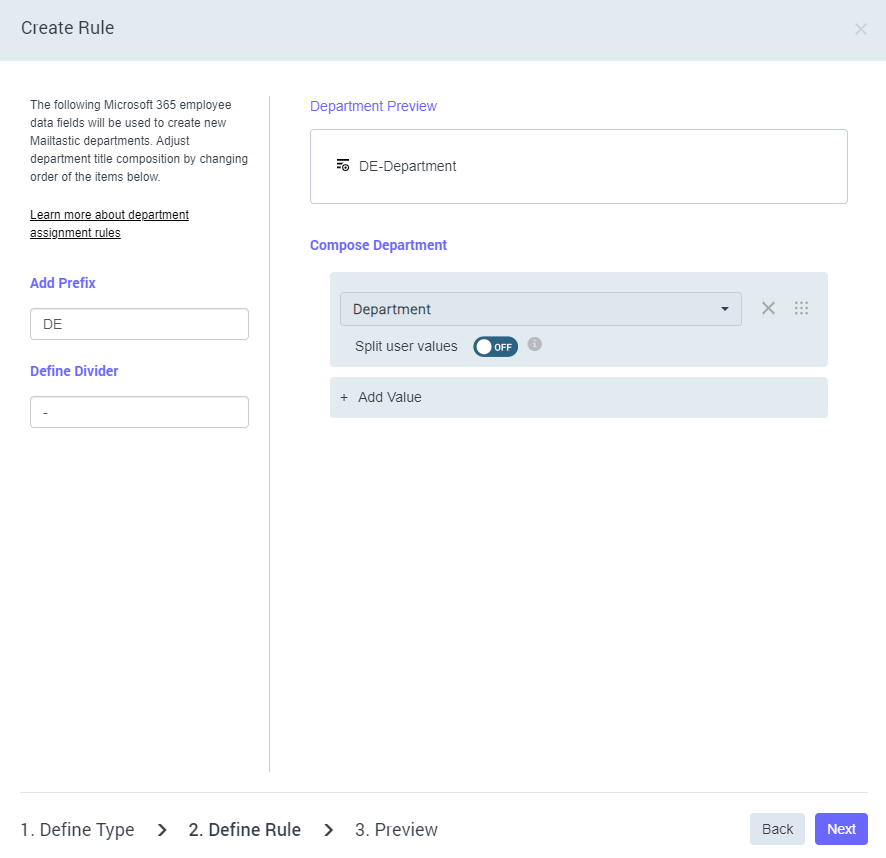
In this example, employees are imported into departments based on the values stored for Microsoft 365 users under "Department".
We have also used the prefix "DE" and the separator "-".
An Microsoft 365 user with the department information "Marketing" is moved to the Mailtastic department "DE_Marketing" via this rule, while an O365 user with the department information "Sales" is imported into "DE_Sales".
Beispiel 2 - Microsoft 365-Felder mit mehreren Werten verwenden

lf there are Microsoft 365 users that are assigned to several departments via the Microsoft 365 user field "Department", you can turn these values into several Mailtastic departments within a user field by activating "Split user values" and specifying the separator that you used within Microsoft 365 to separate the values.
A user with the department value "Marketing; Sales" stored in O365 will be moved to the following Mailtastic departments in this example: "DE_Marketing" and DE_Sales".
You can see more examples for the use of separators here: To the article
-
Example 3 - Using multiple Microsoft 365 values

lf you want to create departments based on multiple Microsoft 365 values, you can easily do so by selecting "Add values".
In this example, we will create departments based on two O365 values.
A Marketing employee from company A would be moved to the Mailtastic department "DE_CompanyA_Marketing", while a Sales employee from company B would be moved to the department "DE_CompanyB_Sales".
Compile the department conditions and then click on "Next" to get a preview of the corresponding departments in the next step.
-
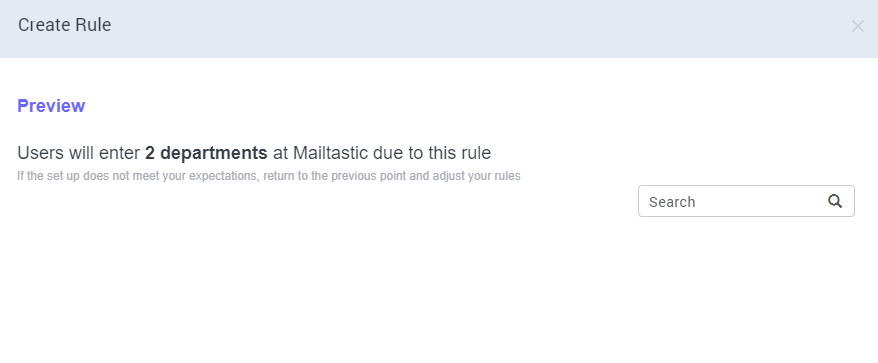
In the preview you will get an overview of the departments that will be created based on your rule and the O365 values.
Click on "Create rule" to complete the process.
Tip: You can adjust rules at any time.
-
Part 4 - Complete the process
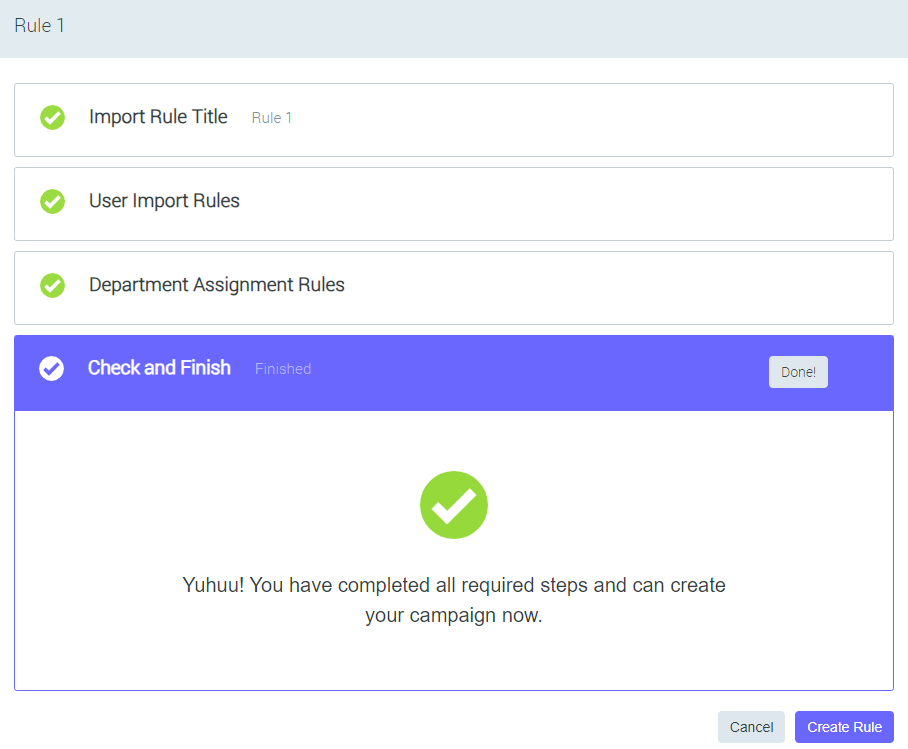
Now that you have created 1. the user import rule and 2. the department assignment rule, you can save the import rule by clicking on "Create rule".
-
Do you still have questions?
No problem - we will be happy to help you personally! Simply use our free live chat (bottom right).

Peer Wierzbitzki, Product Management