Follow these simple steps and you'll be integrated with eM Client in no time!
Step 1
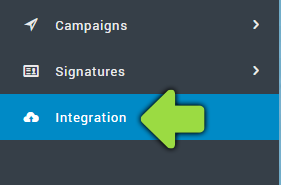
Open the Mailtastic Installation Description. This can be found at Mailtastic under "Installation"-> "Installation" -> "Quick-Start", or ...
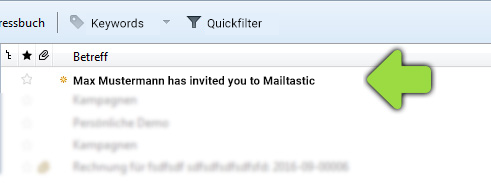
... in the invitation e-mail you received from Mailtastic (your employees will also receive this e-mail).
Step 2
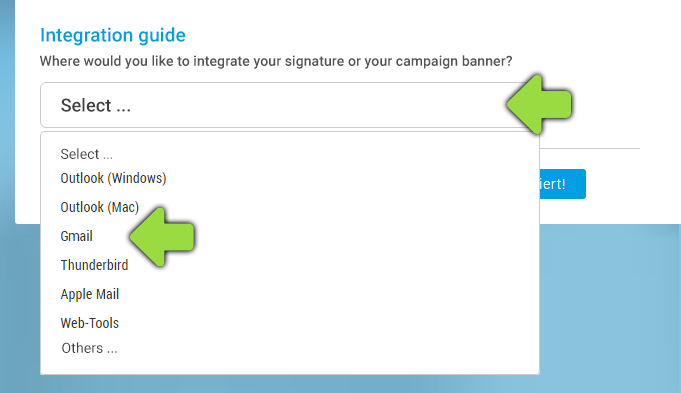
Follow the process until you reach the "Instructions" area. Scroll down until you reach "Integration Guide" and select "Gmail" from the drop-down menu (Yes, Gmail).
Step 3
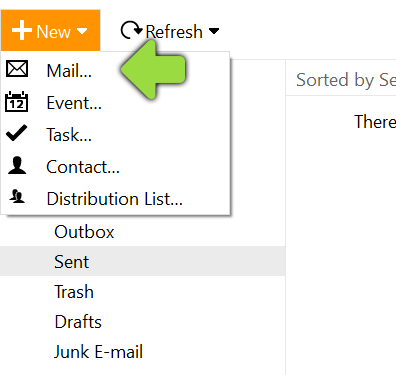
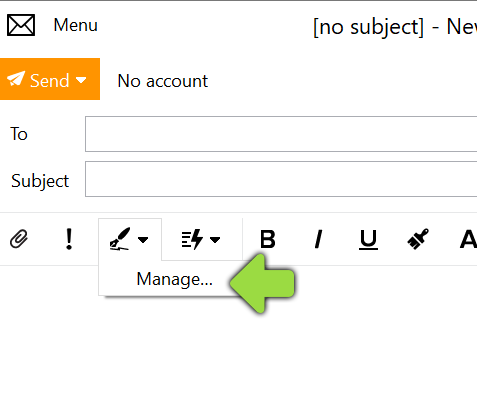
Start eM Client and open the Email Write dialog box:
Step 4
Click on the signature icon and select the menu item "Manage".
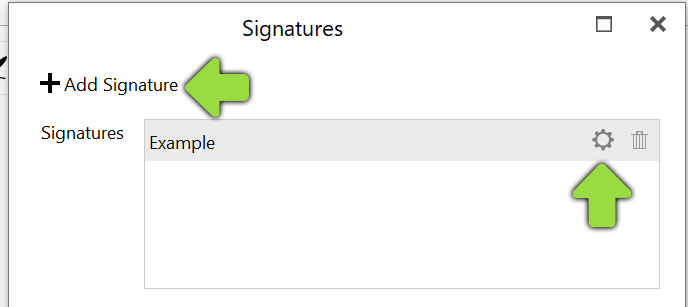
Step 5
Switch back to your Mailtastic instructions and copy the Mailtastic signature or campaign banner to the clipboard by clicking the blue button:

If you have been assigned a complete Mailtastic signature, delete the contents of your old eM Client signature by selecting the appropriate signature and going to "Edit" (Gear) and paste the copied Mailtastic signature into the empty field, or create a new signature (+ Add signature).
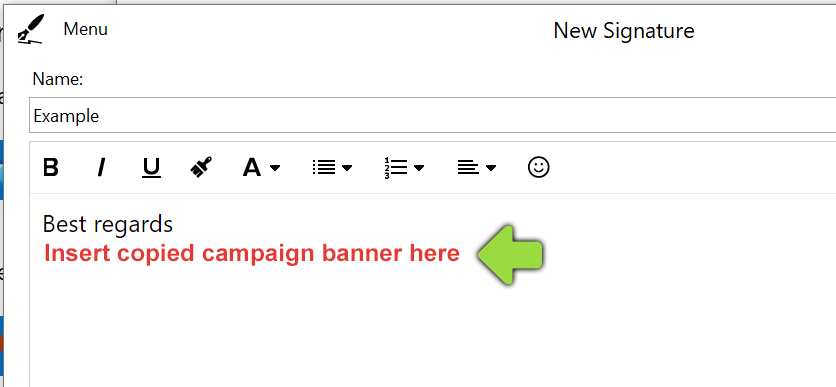
If you have been assigned a campaign banner, insert it with a paragraph spacing below the existing signature text.
Now save your settings by clicking on "OK" at the bottom of the page. That's it!
You did it! Your Mailtastic signature or campaign banner is now displayed in your e-mails.
-
Do you have any questions?
No problem - we will be happy to help you personally! Simply use our free live chat (bottom right).

Peer Wierzbitzki, Product Management