You are here:
Step 1 - Connect to Microsoft 365
-> Step 2 - Set up user sync
-
Background:
After you have connected to your Microsoft 365 account in the first step, we will explain in the following article how to make the basic settings of the sync:
-
Step 1 - Set up basic user sync settings
Open the Microsoft 365 integration and click on the new instance in the "Linked Microsoft 365 accounts" area.
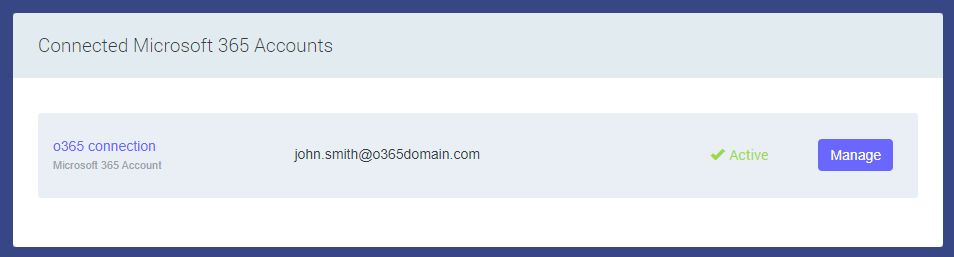
You will now be taken to the overview.
Click on "Define Preferences" to define the basic settings of the O365 user sync and start with the setup.
-
Step 2 - Make settings
In the following wizard, you can make settings for the following points:
Microsoft 365 User Import
Microsoft 365 User Data Update
Empty Microsoft 365 data fields
Microsoft 365 Full Time Department Sync
Microsoft 365 Employee Pictures
You will receive an explanation and the corresponding setting options directly in the Wizzard.
You can adjust the settings at any time.
-
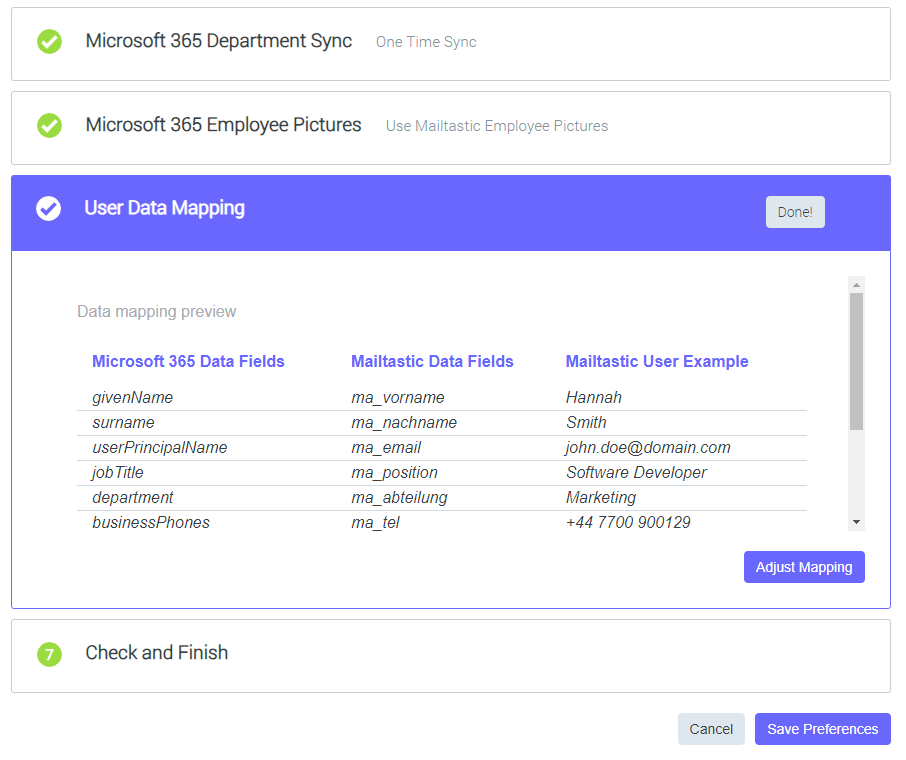
Step 3 - Map user data
After you have made the basic settings, you can adjust the mapping of the Microsoft 365 user data and the Mailtastic user data in the last step. Here, you can define which user information from an Microsoft 365 user should be transferred to which user information at Mailtastic.
The default mapping is predefined, click on "Customise mapping" to adjust the mapping.
Now all settings are done.
Click on "Save preferences" to complete this step and import your employees in the next step.
Continue with the following article: Step 3 - Import employees
-
Do you still have questions?
No problem - we will be happy to help you personally! Simply use our free live chat (below right).

Peer Wierzbitzki, Product Management