
You are here:
-> Step 1 - Connect to Microsoft 365
Background:
In order to import the users from your O365 account to Mailtastic, a connection between your Microsoft 365 account and Mailtastic must be established. We will explain how to do this in the following article.
Tip: If you are not the admin of your Microsoft 365 account, you should ask the corresponding colleague from your IT to carry out this first step. All further settings can also be made without O365 admin rights.
You can forward this article to your colleague and add the corresponding colleague as an admin to Mailtastic so that they can perform the corresponding steps.
The O365 user synchronisation is a Mailtastic feature that uses the Microsoft Graph API to connect to your Microsoft Entra and perform queries against the user and group data of the Entra directory.
To perform these operations, the customer must authenticate to Entra (formerly known as Microsoft Azure AD) and give the Mailtastic Azure app the necessary permissions to perform the required queries.
The access scenario used here is "delegated access", where a customer user has logged in to a Mailtastic application and the Mailtastic application calls Microsoft Graph on behalf of this user.
The delegated permissions (scopes) required to perform the required operations are:
1. User.Read.All - Allows the Mailtastic application to read the complete set of profile properties of users in the customer organisation.
2. Group.read.all - Allows the Mailtastic app to list groups and read their properties and all group memberships.
3. Offline_access - Used to return a refresh token when requesting an access token for MS Graph API. A refresh token allows the Mailtastic app to receive new access tokens without asking the user to log in again.
-
Instructions
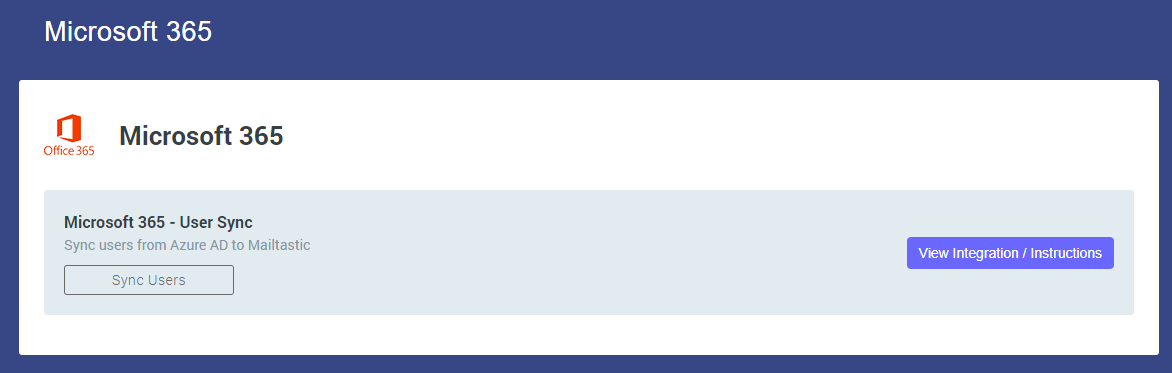
Step 1 - Microsoft 365 - Open User Sync.
In Mailtastic, navigate to the menu item "Integrations" (left navigation bar) and click on "Integrate" for "Microsoft 365 - User-Sync".
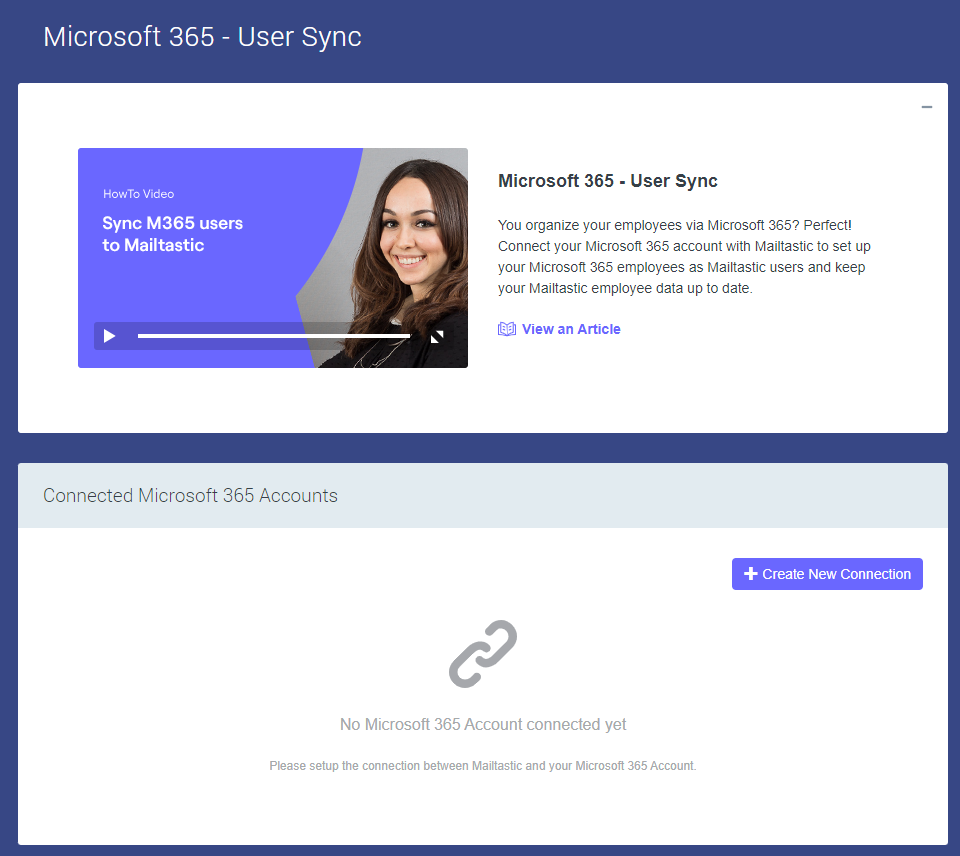
Step 2 - Connect to Microsoft 365
In the next step, click on "Create a new connection" to connect to your Microsoft 365 account.
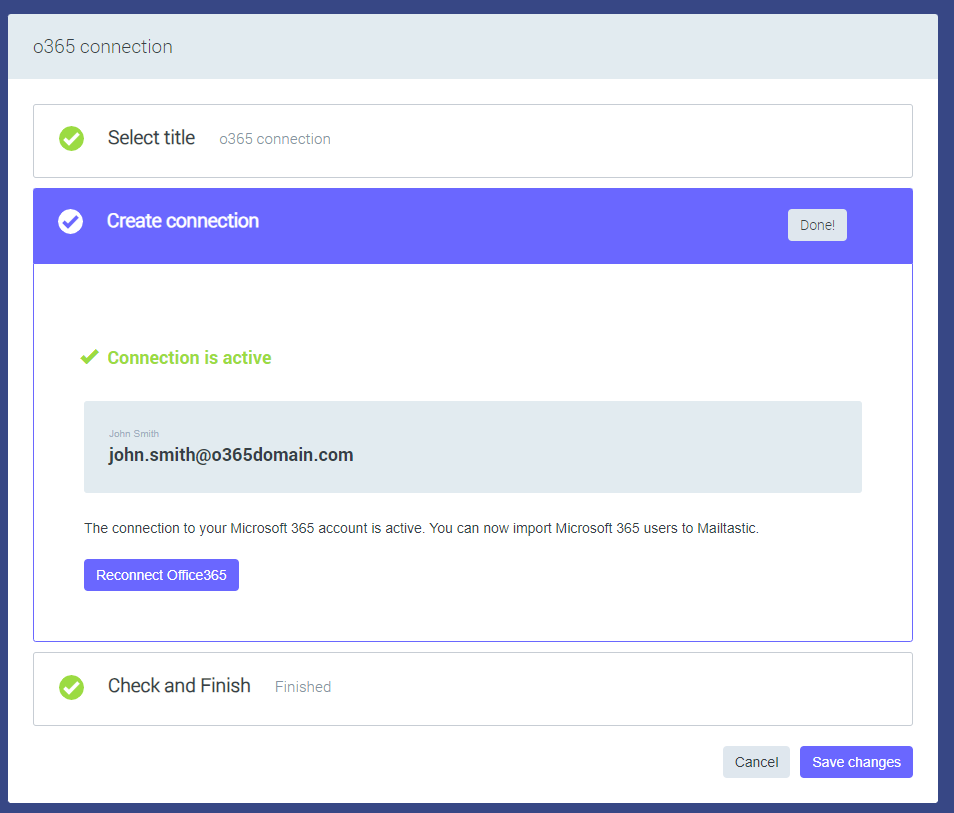
In the next step you will see the setup dialogue. Please give the connection a meaningful name. e.g. "Mailtastic Microsoft 365-Account Germany".
Then connect to the Microsoft 365 account whose employees you want to import into Mailtastic to manage their email signatures. You must be an admin of the O365 account.
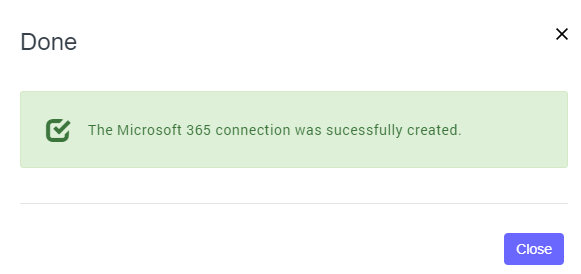
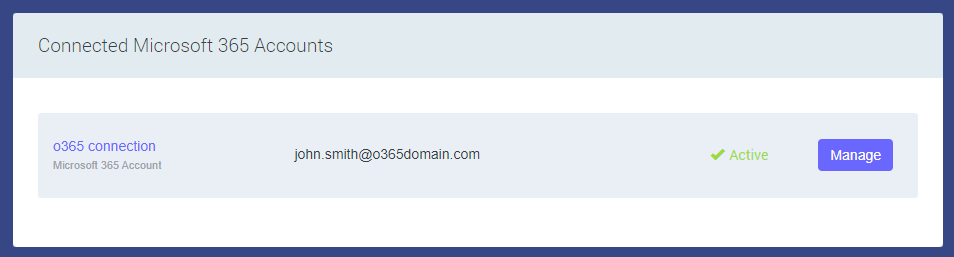
Click on "Connect" to complete the process and the connection to your Microsoft 365 has now been created. The corresponding instance is now displayed under "Linked Microsoft 365 accounts".
The connection to your Microsoft 365 has now been created. The corresponding instance is now displayed under "Linked Microsoft 365 accounts".
Click on "Manage" to set up the sync and import employees.
Continue with the following article: Step 2 - Set up user sync
-
Do you still have questions?
No problem - we'll be happy to help you personally! Simply use our free live chat (bottom right).

Peer Wierzbitzki, Product Management