Do you use the desktop version of Apple Mail in your company? Perfect! With our program EasySync (Mac) you can easily integrate the email signatures and campaign banners that you control centrally via Mailtastic into the Apple Mail signatures of your employees and keep them up-to-date.
EasySync (Mac) is a Mac application that is installed once on the workstations of your employees and then permanently synchronizes the corresponding signatures. The application can be installed centrally by IT or independently by each employee. Click here to download.
Via EasySync the employee can synchronize his or her signatures manually or update his or her personal data at any time (if approved by the admin).
In addition to the signatures for Apple Mail, EasySync (Mac) also synchronizes the signatures for Outlook (Mac), unless you choose another setting.
-
As Admin:
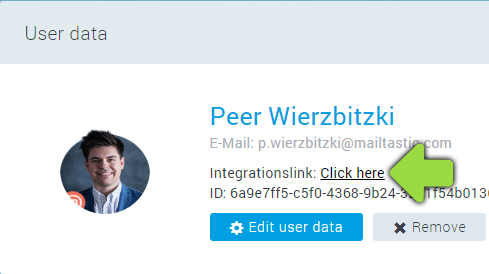
Open the employee profile of the corresponding employee and click on the integration link, or...
As a user:
... open the invitation e-mail you received from Mailtastic.
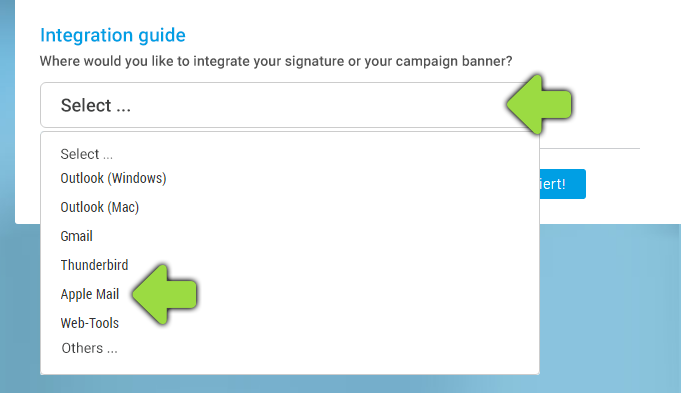
Follow the process until you reach the "Manual" area. Scroll down until you reach "Integration Guide" and select "Apple Mail" from the drop-down menu.
Click on the blue "Download EasySync now" button to download the program. (Alternatively, you can download EasySync here.)
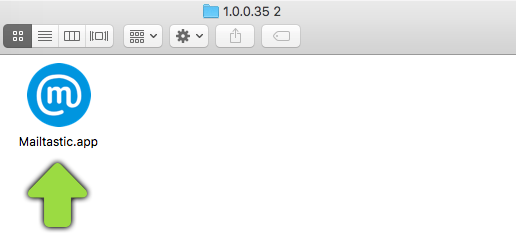
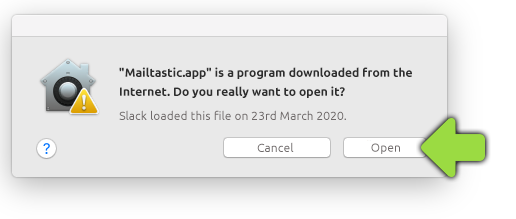
Install the program - that's it! Apple Mail now provides you with the signatures assigned to you in Mailtastic. Mailtastic checks every hour whether the signature is up-to-date and updates it automatically if necessary.

-
You can define further sync settings in the EasySync administration area.
-
Adding Access Rights for EasySync
(For EasySync Apple Mail users from Mac operating system Mojave)
With macOS Mojave Apple introduces a few new privacy features. The new features are useful, but make it necessary for EasySync users to activate the new rights for Mailtastic.
You can activate the corresponding rights for EasySync directly during installation or later. This is how it works:
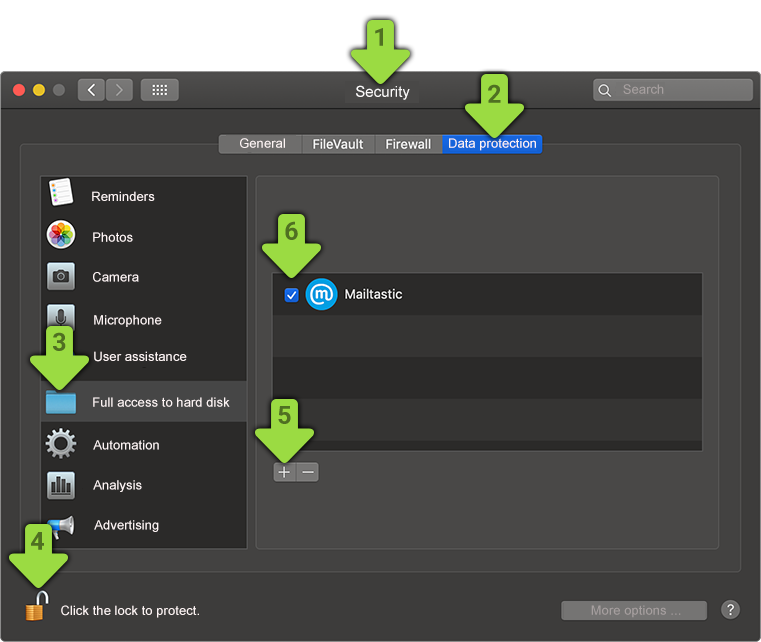
A: Grant hard disk access
1. Open the preferences of your Mac and select "Security".
2. Navigate to the tab "Privacy".
3. Navigate to the tab "Full access to hard disk".
4. Unlock the lock
5. Click on "+".
6. Add "Mailtastic" to the list
B: Grant automation
7. navigate to the "Automation" tab
8. activate "System Events" and "Mail
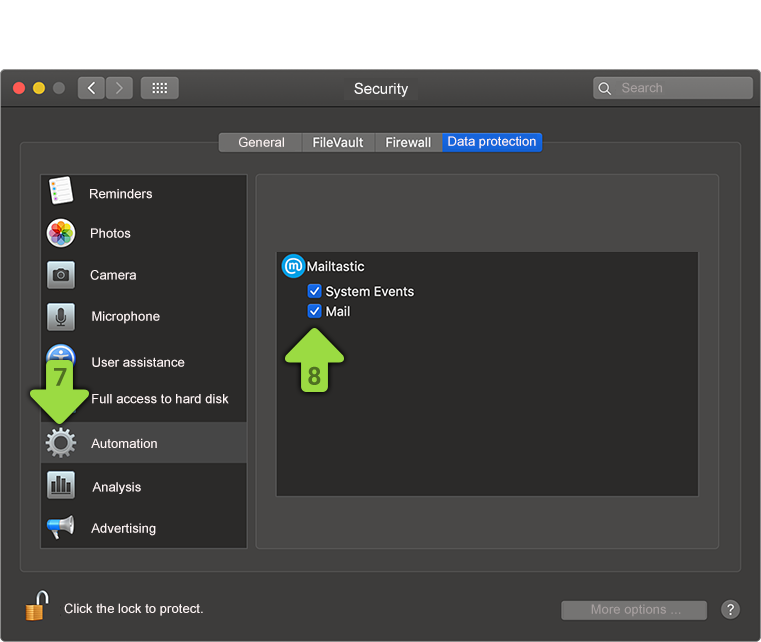
Done!
-
Do you have any questions?
No problem - we will be happy to help you personally! Simply use our free live chat (bottom right).

Peer Wierzbitzki, Product Management